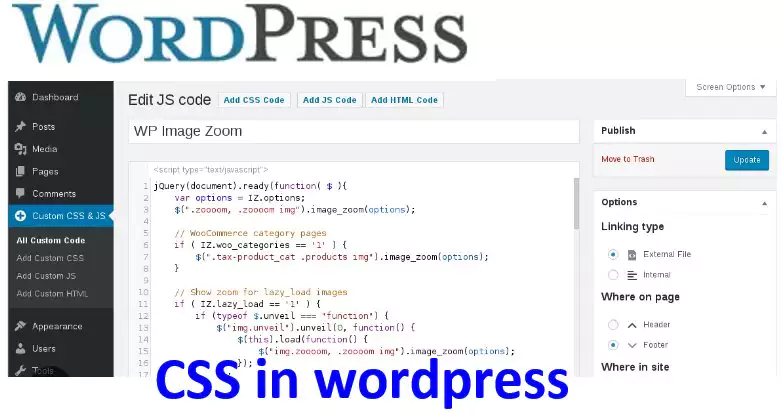
Styling WordPress menus with CSS
WordPress menus are an essential part of any website, and styling them with CSS can help you create a unique and cohesive design. In this beginner’s guide, we’ll explore how to style WordPress menus with CSS to make them stand out and enhance your website’s user experience.
[Wordpress Best Tips & Tricks – Top 10 !!]
[Wordpress Best Tips & Tricks – Top 10 !!]
Styling WordPress menus with CSS
WordPress menus are navigation menus that allow users to easily navigate through your website. They typically appear at the top of your website, although they can also appear in other locations, such as the footer or sidebar. You can customize WordPress menus to include links to pages, posts, categories, and custom links.

Before you can style your WordPress menu with CSS, you’ll need to create a menu. To do this, go to your WordPress dashboard and navigate to Appearance > Menus. Give your menu a name, and then add pages, posts, categories, and custom links to it.
Once you’ve created your WordPress menu, you can start styling it with CSS. Here are some tips to help you get started:
[Useful tips and information for wordpress]
Step-by-Step Guide to Installing WordPress
Overview of the WordPress Dashboard
How to Customize Your WordPress Site’s Title and Tagline
How to Configure WordPress Permalinks for SEO
Customizing a WordPress Theme Appearance
The first step in styling your WordPress menu with CSS is to target the menu container. This is the container that holds your menu items. You can use the following CSS code to target the menu container:
cssCopy code.nav-menu {
  /* your CSS styles here */
}
After targeting the menu container, you can style the individual menu items. Use the following CSS code to target the menu items:
cssCopy code.nav-menu li {
  /* your CSS styles here */
}
3. Add hover effects
Hover effects can add visual interest to your WordPress menu and help users understand which item they are about to click on. Use the following CSS code to add a hover effect to your menu items:
cssCopy code.nav-menu li:hover {
  /* your CSS styles here */
}
The active menu item is the item that corresponds to the page the user is currently on. You can customize the active menu item to help it stand out. Use the following CSS code to target the active menu item:
sqlCopy code.nav-menu .current-menu-item {
  /* your CSS styles here */
}
If you want to target a specific menu item with CSS, you can add a CSS class to it. To do this, click on the menu item in the WordPress menu editor, and then expand the “CSS Classes” section. Add your CSS class here, and then use the following CSS code to target the menu item:
javascriptCopy code.nav-menu .your-css-class {
  /* your CSS styles here */
}
Summary
Styling WordPress menus with CSS-
Styling your WordPress menus with CSS can help you create a cohesive and visually appealing website design. By targeting the menu container and menu items with CSS, you can add hover effects, customize the active menu item, and target specific menu items with CSS classes. With these tips, you’ll be able to create a unique and memorable WordPress menu that enhances your website’s user experience.